Now that I have my UV snapshot for my model, I can paste it into something like Photoshop and start to texture it. Since i textured my model at home and didn’t have access to Photoshop, i used an app called Krita, however this didn’t change much in terms of how i textured my model.

After Placing my UV snapshot into Krita, I then set up my workspace. This involved renaming my snapshot layer to UV to distinguish it and creating 2 more layers, one to act as a background so i can see the UV outline and then one i can paint and texture on. I locked both the UV shell layer and the background layer to prevent them from moving around while i work and throwing everything off.


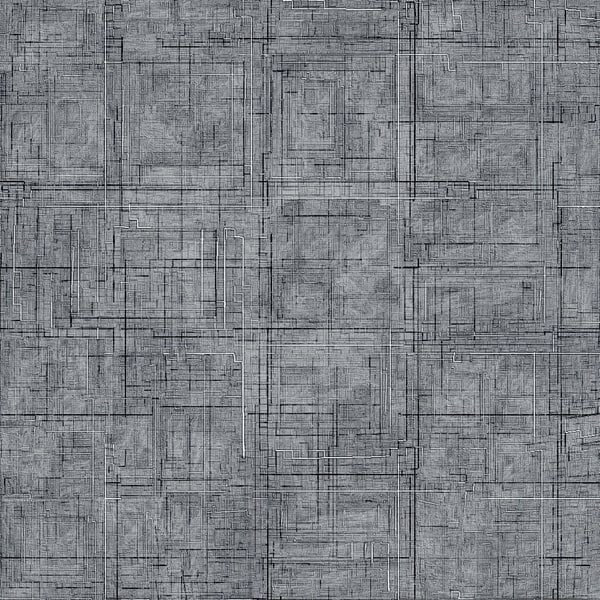
Since I’m not the best at using software to paint yet, i decided to rely on using tools from Krita and textures from the web to complete my model. I decided to paste a texture onto my model and then colour over it. I decided on this texture for the outside of my ship, using it everywhere but the windows so everything looked the same.
I pasted this all over the UV of my model, ensuring that everything was covered and then used the magic wand tool on the UV layer to select the outline of the shells, allowing me to erase the parts of the texture that aren’t needed. I also erased the texture from the shell where the cockpit will go, as it wouldn’t look right for windows to share that texture. Next, I started to colour the shells, starting with an orange then adding a red gradient to it afterwards. To ensure you could still see the texture that was underneath, I had to decrease the opacity of the colours I used to ensure that they didn’t overpower the texture i had.
After painting my shells, i was ready to import my texture file over to Maya to apply to the model. At this point i could delete the UV outlines i had been using, however i liked how they looked on my model and decided to keep them on as part of the texture while removing them from the cockpit. This is how my finished texture looked.
To apply this to my model in Maya, I had to save it as a PNG file then open the hypershade window in Maya.
From here I made a Blinn material which will allow me to apply my texture to my model. I selected the black and white box next to colour, selected the file setting from the drop down menu then inserted my texture from there. I then had to apply the material to my model, select the textured option in Maya then i could see my model fully textured.
Here is my finished model.